Unlock the Magic of Homemade Blueberry Pancake Syrup: Canning & No-Waste Blueberry Butter
Imagine a stack of fluffy pancakes or golden waffles, glistening with a vibrant, jewel-toned syrup that bursts with the sweet, tangy essence of fresh blueberries. That’s the irresistible allure of homemade blueberry pancake syrup, a simple pleasure that elevates any breakfast into an extraordinary experience. But what if you could not only create this culinary delight but also preserve it for months, and even transform the leftover fruit into a delectable, no-waste blueberry butter? Get ready to embark on a sweet adventure that promises a showstopping feast for both the eyes and the palate, maximizing every precious blueberry.
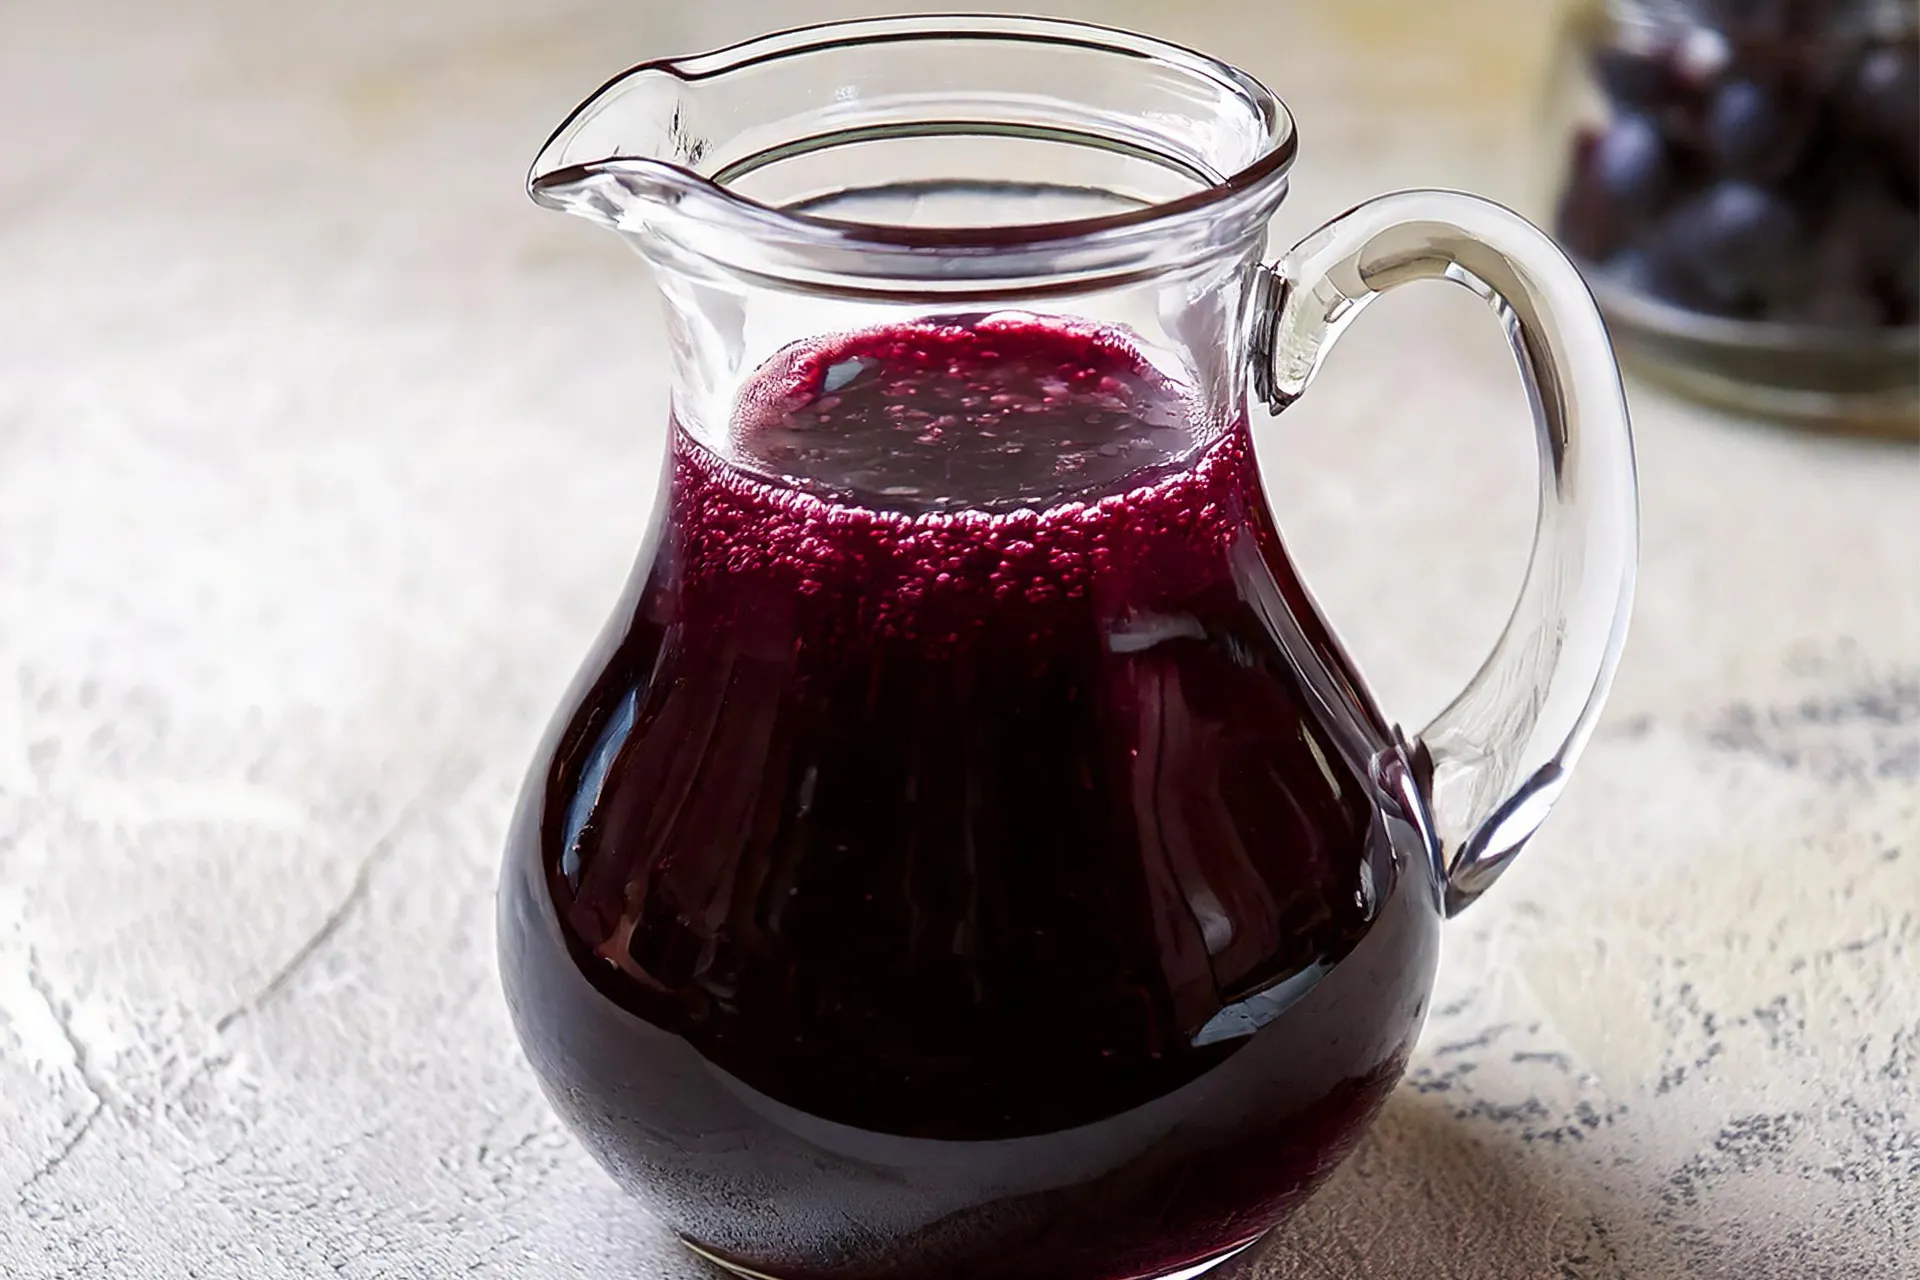
Crafting Your Own Irresistible Blueberry Pancake Syrup
Making your own blueberry pancake syrup is surprisingly easy, requiring just a handful of basic ingredients and minimal effort. The result is a richer, more flavorful, and visually stunning syrup than anything store-bought, with that signature deep purple hue that announces pure indulgence. Whether you're using fresh berries during peak season or tapping into your freezer stash, this recipe is a year-round winner.
The Simple Ingredients for a Spectacular Syrup
To create this liquid gold, you'll need:
- Blueberries: Fresh or frozen work equally well. Frozen berries are often more economical and readily available year-round.
- Granulated Sugar: The essential sweetener, balancing the blueberries' tartness.
- Water: To help break down the berries and create the syrup consistency.
- Fresh Lemon Juice: While optional for flavor, it plays a crucial role in brightening the taste, enhancing the color, and aiding in pectin activation for a natural thickness. For canning, bottled lemon juice is often recommended for its consistent pH levels, a key safety factor.
Step-by-Step Guide to Perfect Blueberry Pancake Syrup
- Combine & Simmer: In a medium saucepan, combine your blueberries, sugar, and water. Bring the mixture to a gentle boil over medium heat, then reduce heat and simmer.
- Mash & Melt: As the berries soften, gently mash them with a spoon or potato masher to release their juices. Continue to simmer for 10-15 minutes, or until the sugar is fully dissolved and the berries have broken down. The mixture should thicken slightly.
- Add Lemon Juice: Stir in the fresh (or bottled) lemon juice during the last few minutes of simmering. This final touch truly makes the flavors pop.
- Strain for Smoothness: For a silky-smooth syrup, carefully pour the mixture through a fine-mesh sieve set over a bowl. Use the back of a spoon to press down on the solids, extracting as much liquid as possible. If you prefer a syrup with a few berry pieces, you can skip this step or strain only partially.
- Cool & Store: Allow the syrup to cool before transferring it to airtight jars or bottles. Store in the refrigerator for up to 2-3 weeks, or proceed to canning for longer preservation.
Tips for a Flawless Finish
- Consistency Control: If you desire a thicker syrup, continue simmering the strained liquid for an additional 5-10 minutes, allowing more water to evaporate. Alternatively, for a quick fix, whisk a teaspoon of cornstarch with a tablespoon of cold water, then stir into the simmering syrup until thickened.
- Vibrant Color: The lemon juice isn't just for flavor; its acidity helps maintain that beautiful, rich purple hue that makes this syrup so appealing.
- Berry Freshness: While fresh berries offer a peak season delight, frozen blueberries are equally effective and often contribute more liquid, which can sometimes lead to a slightly thinner syrup initially – easily remedied by extra simmering.
Preserving Summer's Sweetness: Canning Your Blueberry Syrup
Canning your homemade blueberry pancake syrup is an incredibly rewarding process, allowing you to capture the taste of summer and enjoy it year-round. It's also a thoughtful, homemade gift idea that speaks volumes. Don't let the idea of canning intimidate you; with a few basic safety guidelines and tools, you'll be preserving like a pro in no time.
Why Canning is a Game-Changer
Beyond extending shelf life, canning offers several advantages:
- Year-Round Enjoyment: Savor the taste of fresh blueberries even when they're out of season.
- Homemade Gifts: Jars of homemade syrup make beautiful and cherished presents for holidays, hostess gifts, or special occasions.
- Stocking Your Pantry: A well-stocked pantry with homemade preserves brings a sense of accomplishment and convenience.
Essential Safety Guidelines for Home Canning
When canning, safety is paramount. Follow these crucial tips:
- Sterilization: Always start with clean, sterilized canning jars and lids. Wash them thoroughly in hot, soapy water, then sterilize them in boiling water or a dishwasher's sanitizing cycle.
- Consistent pH: This is where bottled lemon juice becomes important. For canning recipes that rely on acidity to prevent spoilage (like fruit syrups), using bottled lemon juice ensures a consistent pH level, which is critical for food safety during the water bath canning process. Fresh lemons can vary widely in their acidity.
- Proper Equipment: Invest in a water bath canner (a large pot with a rack), canning jars, lids, bands, a jar lifter, a funnel, and a headspace tool.
A Quick Guide to Water Bath Canning Blueberry Syrup
- Prepare Syrup: Make your blueberry syrup as described above, ensuring it’s still hot when you’re ready to fill the jars.
- Fill Jars: Using a canning funnel, carefully ladle the hot syrup into hot, sterilized canning jars, leaving 1/4-inch headspace (the space between the syrup and the rim of the jar).
- Remove Air Bubbles: Use a non-metallic utensil (like a plastic chopstick or specialized de-bubbler) to gently remove any trapped air bubbles from the jars. Adjust headspace if necessary.
- Wipe Rims & Seal: Wipe the rims of the jars clean with a damp cloth. Center a new, clean lid on each jar, then screw on the bands finger-tight.
- Process in Water Bath: Place the filled jars on the rack in your water bath canner, ensuring they are fully submerged by at least 1-2 inches of water. Bring the water to a rolling boil.
- Boil & Cool: Process pints for 10 minutes (adjusting for altitude if necessary). Once processing time is complete, turn off the heat, remove the canner lid, and let the jars sit in the hot water for 5 minutes before carefully removing them with a jar lifter.
- Set Aside: Place the hot jars on a clean towel or cooling rack, ensuring they are not touching, and allow them to cool undisturbed for 12-24 hours. You should hear popping sounds as the lids seal.
- Check Seals & Store: After cooling, check seals by pressing the center of each lid; it should not flex. Remove bands, wipe jars clean, label, and store in a cool, dark place for up to 1 year.
The Ultimate No-Waste Treat: Homemade Blueberry Butter
One of the most exciting aspects of making your own blueberry pancake syrup is the incredible "two-fer" opportunity it presents. After straining the cooked blueberries for syrup, you're left with a rich, flavorful pulp – the perfect foundation for a delightful, no-waste blueberry butter! This is an excellent example of how simple kitchen creativity can transform what might have been discarded into another cherished culinary creation, akin to making apple butter from applesauce.
From Pulp to Pure Gold: Making Blueberry Butter
Transforming your leftover blueberry pulp into a spreadable butter is surprisingly simple:
- Puree the Pulp: Transfer the strained blueberry pulp to a food processor or use an immersion blender to puree it until smooth. Add a tiny splash of water if it's too thick to blend.
- Return to Pan: Pour the smooth puree back into a clean saucepan.
- Sweeten & Spice (Optional): Stir in a small amount of additional sugar to taste (the pulp will be less sweet than the syrup), and consider adding warm spices like a pinch of cinnamon, nutmeg, or a tiny dash of allspice for depth.
- Simmer & Thicken: Simmer the blueberry butter over low heat, stirring frequently, for 20-30 minutes, or until it reaches a thick, spreadable consistency. It should mound on a spoon and hold its shape.
- Cool & Store: Allow the blueberry butter to cool completely before transferring it to an airtight container. Store in the refrigerator for up to 2-3 weeks. For longer storage, you can also can the blueberry butter using a similar water bath canning process, ensuring proper headspace and processing times for fruit butters.
Creative Ways to Enjoy Your Blueberry Butter
This rich, fruity spread is incredibly versatile:
- Spread it generously on toast, bagels, or English muffins.
- Swirl it into oatmeal or yogurt for a flavorful breakfast boost.
- Use it as a filling for thumbprint cookies, pastries, or crepes.
- Serve it alongside a cheese board for a sweet and savory pairing.
- Glaze roasted pork or chicken for a surprising burst of fruitiness.
Beyond Breakfast: Versatile Uses for Your Blueberry Syrup
While blueberry pancake syrup is a match made in heaven for breakfast staples, its uses extend far beyond the morning meal. This homemade elixir can truly elevate breakfast and beyond, adding a gourmet touch to a variety of dishes and drinks.
- Dessert Topping: Drizzle it over vanilla ice cream, cheesecakes, panna cotta, or fruit tarts.
- Beverage Booster: Stir a couple of tablespoons into an icy cold glass of seltzer water for a refreshing homemade soda. It's also fantastic in cocktails, mocktails, or stirred into lemonade.
- Oatmeal & Yogurt Enhancer: A swirl of blueberry syrup transforms plain oatmeal, overnight oats, or Greek yogurt into a delightful treat.
- Marinades & Glazes: Incorporate it into marinades for poultry or pork, or reduce it further to create a glossy glaze for roasted meats.
- Baking: Use it to moisten cake layers, flavor frostings, or even as a base for a fruity compote.
Conclusion
From a stack of blueberry-drenched pancakes to a vibrant dessert or a refreshing drink, homemade blueberry syrup offers an unparalleled depth of flavor and a burst of color. Learning to make, can, and even create a delicious, no-waste blueberry butter from the pulp empowers you to embrace seasonal flavors, practice sustainable cooking, and fill your pantry with homemade goodness. So, gather your blueberries and get ready to transform simple ingredients into a showstopping collection of sweet delights that will tantalize your taste buds all year long.
